We’ve all been there. You hit “send” on an email, only to realize moments later that you made a mistake. It could be a typo, an incorrect recipient, or even a wrong attachment. The panic sets in as you wonder how to fix the mistake before the recipient sees the message. Luckily, if you’re using Microsoft Outlook, there’s a way to recall an email and possibly save yourself from embarrassment.
This guide will walk you through everything you need to know about how to recall an email in Outlook, including the requirements, step-by-step instructions, and troubleshooting tips in case the recall doesn’t work.
What is Email Recall in Outlook?
Email recall is a feature in Microsoft Outlook that allows you to retract an email after sending it. The primary idea is to delete the unread version of the email from the recipient’s inbox before they read it. If you’ve made an error in your email—whether it’s a typo, a missing attachment, or an incorrect recipient—you can use the recall feature to “unsend” it.
However, it’s important to note that recalling an email only works under specific conditions and isn’t foolproof. So, while it’s a great tool in certain scenarios, it has its limitations, which we’ll cover in detail.

Conditions for Recalling an Email in Outlook
Before you jump into the process of recalling an email, certain conditions must be met for the recall to be successful:
- Both sender and recipient must be using Microsoft 365 or Exchange accounts: The recall feature only works if both you (the sender) and the recipient are using Outlook accounts that are part of Microsoft 365 or Exchange. If the recipient is using another email service like Gmail, Yahoo, or a non-Exchange Outlook account, the recall will not work.
- The email must be unread by the recipient: For the recall to be effective, the email must not have been opened or read by the recipient. If they’ve already opened the email, the recall attempt will fail.
- It works best within an organization: Recalling emails is most successful when both the sender and the recipient are part of the same organization or domain. Sending an email to an external recipient outside of your organization significantly reduces the chances of a successful recall.
- The recipient must be using Outlook: The recall feature is designed to work in Microsoft Outlook. If the recipient opens the email in a different email client (like Gmail or Yahoo), the recall feature won’t work.
- Timing is critical: The sooner you attempt to recall an email, the higher your chances of success. The longer you wait, the more likely the recipient will have already seen it, which makes the recall futile.

How to Recall an Email in Outlook: Step-by-Step Instructions
If you meet the requirements mentioned above, recalling an email in Outlook is relatively simple. Follow these steps:
- Open Outlook: Make sure you’re logged into your Outlook account (either the desktop app or web version).
- Go to the Sent Items Folder: On the left panel, find and click the Sent Items folder. This folder contains all the emails you’ve sent, including the one you want to recall.
- Open the Sent Email: Locate the email that you wish to recall and double-click to open it in a new window.
- Click on the “Message” Tab: In the top menu bar, click on the “Message” tab.
- Select “Actions”: In the Move group within the ribbon, look for the Actions button.
- Choose “Recall This Message”: From the drop-down menu, select Recall This Message.
- Choose Recall Options:
- Delete Unread Copies of This Message: This option will delete the email from the recipient’s inbox, provided it hasn’t been read yet.
- Delete Unread Copies and Replace with a New Message: If you want to retract the email and send a corrected version, choose this option.
- Click “OK”: Once you’ve selected your desired option, click OK.
- Wait for Confirmation: Outlook will then attempt to recall the email. You’ll receive a notification in your inbox that indicates whether the recall was successful or not.
What Happens After You Recall an Email?
Once you’ve initiated the recall process, Outlook attempts to delete the unread copies of the email from the recipient’s inbox. However, depending on the recipient’s settings, the result may vary:
- Success: If the recipient hasn’t read the email yet, and they’re using Outlook, the email will be deleted from their inbox, and they won’t even know you sent it.
- Failure: If the recipient has already opened the email, the recall will fail, and they will receive a notification informing them that you attempted to recall the email. This notification might look like:The sender has recalled this message and replaced it with a new one.
- Partial Success: Sometimes, the recall may only be partially successful. For example, if the recipient uses a different email client or isn’t logged into Outlook, the recall might not work, but they won’t receive a notification either.
What If the Recall Doesn’t Work?
Unfortunately, recalling an email in Outlook isn’t always 100% effective. If your recall attempt fails, here are a few things you can do:
1. Send a Follow-Up Email
The simplest and most effective approach if the recall fails is to send a follow-up email to explain your mistake. You can apologize for the error and provide the correct information.
For example:
Subject: Apology for the Previous Email
Dear [Recipient’s Name],
I apologize for the confusion caused by my previous email. Please disregard the earlier message, and find the corrected version below.
[Include Correct Information or Attachments]
This approach may help clarify any misunderstandings and show professionalism.
2. Contact the Recipient Directly
If the email was particularly critical or sensitive, consider reaching out to the recipient directly via phone, text, or a messaging platform like WhatsApp or Slack. This is especially important if the error is serious and needs immediate clarification.
Best Practices to Avoid the Need for Recalling an Email
Although the recall feature is helpful, it’s better to avoid making mistakes in the first place. Here are some best practices to follow:
1. Use the Delay Delivery Feature
If you’re not sure about an email or need time to reconsider, you can schedule the email to be sent later. This feature gives you a window of time to review the email before it’s actually sent.
To use this feature in Outlook:
- Compose your email.
- In the Message tab, click Delay Delivery in the More Options group.
- Choose a date and time to send the email, and then click Close.
- Finally, click Send—your email will be held in the Outbox until the scheduled time.
2. Enable the Undo Send Feature
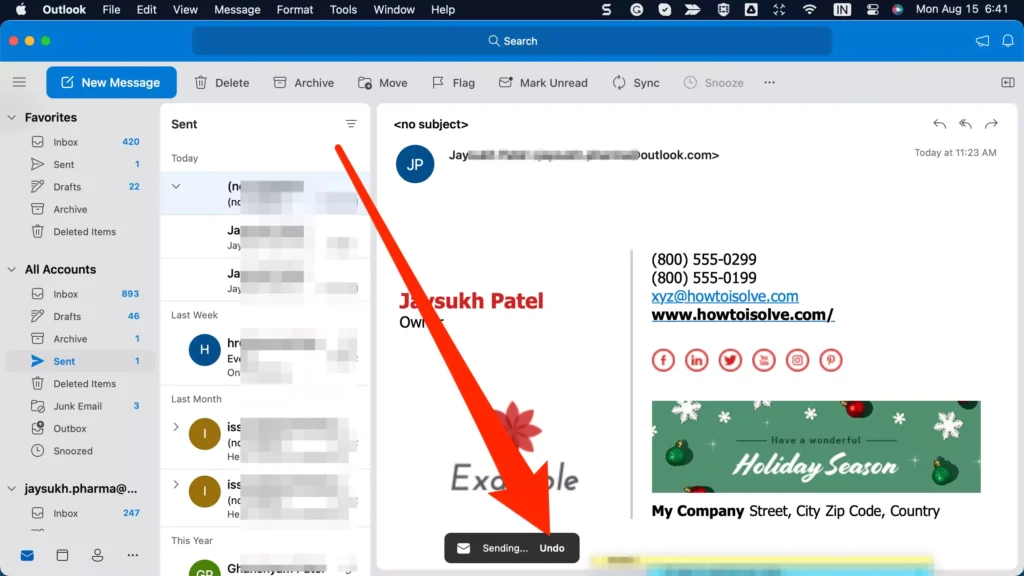
In the Outlook web version, you can enable the “Undo Send” feature, which gives you a few seconds to retract an email after sending it. This is a great last-minute option for preventing accidental sends.
To enable this:
- Go to Settings > View All Outlook Settings > Mail > Compose and Reply.
- Scroll down to the Undo Send section and set the time limit for 5, 10, 20, or 30 seconds.
Conclusion
The ability to recall an email in Outlook can be a lifesaver when you’ve made a mistake, but it’s essential to understand its limitations and conditions. Recalling an email works best when the email is unread, sent within your organization, and the recipient is using Outlook.
If the recall fails, don’t panic! You can send a follow-up email or contact the recipient directly to explain the error. Additionally, to avoid this scenario in the future, consider using features like delay delivery or Undo Send.
Have you ever had to recall an email? What was your experience? Share your thoughts and tips in the comments below!


This is such a helpful guide for navigating the email recall process in Outlook! Do you find that recall attempts are successful more often than not, especially given the specific conditions that need to be met? It feels like such a lifesaver when it works, but I imagine the odds can be tricky.
Thanks for positive Comment❤️. How can I help you ?
I’ve tried using the recall feature a few times and it always seems hit or miss. It’d be interesting to learn more about why it doesn’t always work, especially when both parties use Outlook.